

Set Up SAML SSO (General Instructions)
Who can use this feature
Anyone with these permissions: Manage SAML group access
This article provides general instructions for configuring SAML SSO with any identity provider. After completing this process, users who are members of the groups you’ve mapped can log in to Eon using SAML SSO.
For provider-specific instructions, see:
If you’ve already configured SAML and want to adjust groups, skip to Map SAML groups in Eon.
Configure SAML SSO
You’ll find the SAML SSO page under Access management in your global management console in Eon. Identity providers and their group mappings are both on this page.
Before you start
Before you start, make sure:
-
You’re an administrator in your identity provider.
-
You have the permissions in Eon mentioned at the top of this article.
-
There’s a role that has the exact permissions you want to grant to the group. If there isn’t one, you can create a custom role.
Copy Eon's service provider details
In Eon, go to the SAML SSO global management page. Click Add Identity Provider. Once you have at least one identity provider, this button is a icon in the header of the Identity providers panel.
The Add identity provider dialog lists Eon’s service provider details, each with a copy button. Keep the dialog open because you’ll need these values in the next step.
Configure the SAML app in your identity provider
In a new tab, open your identity provider’s admin interface. Create a SAML app and configure it with these settings:
-
SSO app name, label or title, or similar: Set to
Eon. -
Logo: You can use the Eon logo. Download Eon’s logo
-
Copy Eon’s service provider details into your identity provider and paste them where appropriate: Eon account domain, SSO URL, SLO URL, and Service provider entity ID.
-
Configure the identity provider to send user group membership to Eon using the name
groups.If too many groups are sent with the SAML assertion, the request can become malformed and cause login failures. As a best practice, filter the groups sent to only those relevant to the Eon app. For example, filter to send only groups that start with a specific prefix like
EON_. Consult your identity provider’s documentation for instructions on filtering group claims.

Copy the SAML settings to Eon
Return to the Add identity provider dialog in Eon. Enter these provider details, which you’ll copy from the identity provider. The names you find may vary, but should be similar to:
-
Display name: Set to the name of the identity provider. You can’t change it later, so pick a name you’ll recognize.
-
SSO URL.
-
Issuer URL.
-
SLO URL.
-
Public certificate.
When you’re done, click Add Identity Provider.
Map SAML groups in Eon
Although SAML SSO is now enabled on your Eon account, SAML users can’t log in yet because they have no Eon access by default. To grant access, you need to map your SAML groups in Eon.
Click Add Group Mapping. The New group mapping dialog opens.
Set these options:
-
SAML identity provider: Choose the identity provider you just added.
-
Group ID: Enter the group’s ID your identity provider passes in the SAML assertion. This must be an exact match with the assertion. This is case-sensitive, so
eon viewersandEon viewersare different groups.Identity providers differ in the values they use as the group ID. For example, Okta uses the group’s name, while Microsoft Entra ID uses the group’s GUID. Double-check your identity provider’s documentation to find the correct value.
-
Label: Optionally, give the group a display name so it’s more recognizable in Eon.
Then choose the roles you want to assign to the group. You can assign multiple roles.
Click Create.
SAML configuration changes can take up to 15 minutes to take effect.
Eon-initiated login
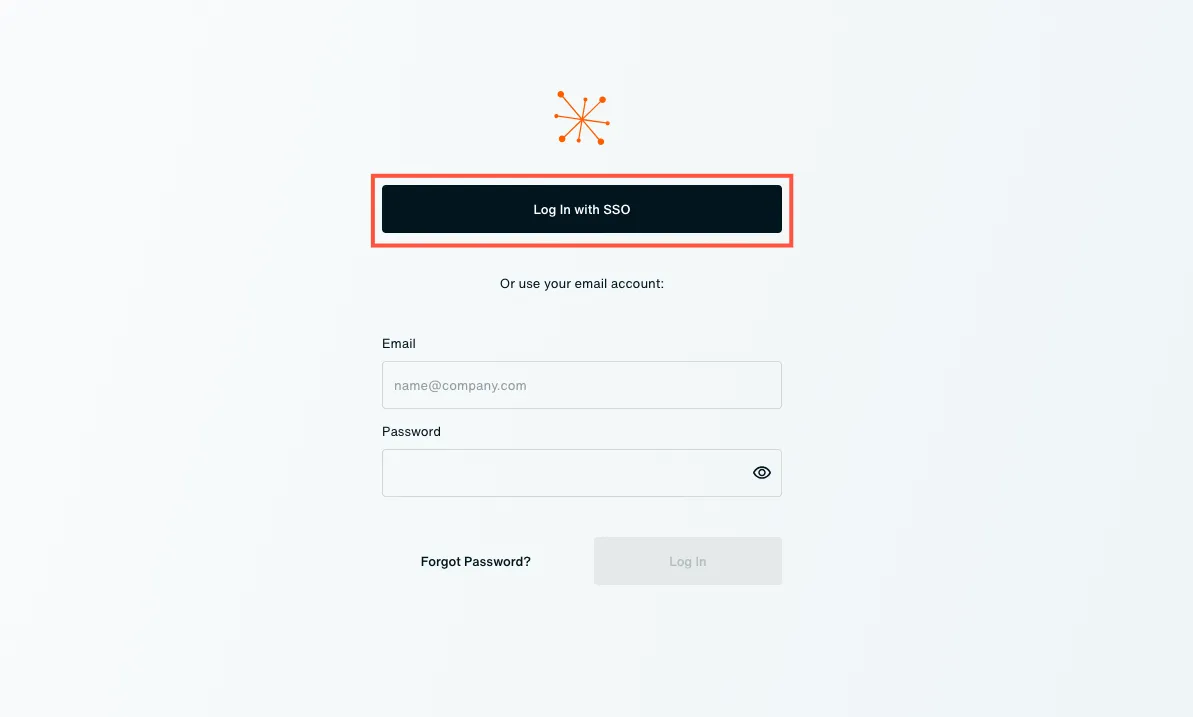
After setup and group mapping, your users can log in to Eon using their identity provider credentials. Let them know and share these directions with them:
-
Go to your Eon domain’s login page (for example,
https://your-company.console.eon.io/login). -
Click Log In with SSO. Enter your identity provider credentials and sign in.
On successful login, you’re redirected to the Eon console.